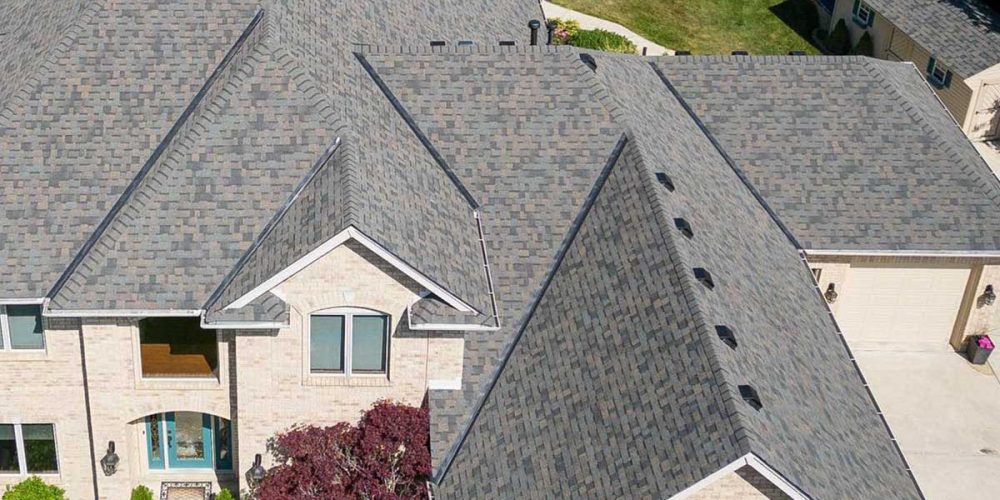
The Best in Residential Roofing in the The Greater Cincinnati Area and Northern Kentucky
Peace of Mind One Roofing Project at a Time
- 5-Year Workmanship Warranty
- Two Decades of Experience in Roof Installation
- Roof Drone Inspections
Roofing Excellence Meets Greater Cincinnati Area

Simply put, you can’t afford to take chances with your biggest investment. While the roof may not be the most exciting part of building or renovating a home, it’s one of the most important. The roof is responsible for keeping the elements out and protecting your family. Fortunately, At Your Service Roofing has a list of professionals who take great pride in repairing, installing and maintaining residential roofing systems in Cincinnati. We’ll give you peace of mind that your home is safe no matter what comes your way.
Types of Residential Roofs We Install
Asphalt Shingle Roofing
Asphalt shingles are one of the most popular roofing choices. Not only are they affordable, but they are versatile enough that you can choose something that matches the color scheme and architecture of your home. When installed correctly and roof repaired regularly, an asphalt shingle roof can last anywhere from 20-30 years.
Metal Roofing
Metal roofing is increasingly popular in residential roofing as an environmentally friendly, long-term investment. While it’s more expensive when installed, it can last 50-100 years and is made of recycled material. It can also reflect heat and help you control your utility bills. At Your Service Roofing offers metal window dormers, accents, and copper roofing.
Choose At Your Service Roofing as Your Residential Roofing Company
Building a home or thinking about roof replacement? Let one of our experts give you an estimate.
 At Your Service Roofing
6064 Branch Hill-Guinea Pike, Milford
4.9 155 reviews
-
Donovan Davis ★★★★★ a month ago
The owner of AYS Roofing, Chris Zimmerman... I can't even begin to explain how great of a dude he is. Let's say you're looking for someone you can trust with your most valuable investment, you're looking for someone … More hoping to get solid recommendations and what to do in complicated situations, if you're in the Cincinnati area, this 100% is the company I would refer my own family to. Anybody reading reviews of this company should know that the owner is a prominent figure in our industry that other roofing contractors all across the country look to for advice and guidance. Trust the roofer that other roofers trust, and call AYS. -
Leanna Creager ★★★★★ a month ago
We had a great experience with At Your Service roofing. From the beginning with Daniel, going through the process and picking out shingles, to the day of installation. There was great communication throughout and thr guys were all very … More professional. They got the job done in a day and the roof turned out fantastic. I would highly recommend them. -
Anthony ★★★★★ a month ago
At Your Service Roofing has a terrific team that not only excels with industry leading knowledge, but they also offer an unmatched experience for their customers! This group is led by excellent ownership that actively supports the process … More start to finish. These guys are so good at what they do, their staff actually coach and train other contractors on systems and processes - after finding this out, selecting them as my contractor of choice was the easiest decision on the second biggest invest of my life (roof replacement)! -
Allan Martin ★★★★★ a month ago
At Your Service Roofing did a terrific job replacing my roof. My sales rep, John Hofmann, was extremely professional walking me through the process of dealing with my insurance company. It was a long period of negotiating back and forth … More with the insurer, but with John and the office staff, suggestions were made, any questions were answered and the roofers finished the project with excellent results. Several homes on my street have received new roofs by At Your Service recently which speak to the quality of their work. -
Rebecca Lammers ★★★★★ 2 months ago
At Your Service replaced our gutters today. We are very happy with the work and the professionalism and knowledge of the staff. Our gutters look beautiful! Thank you to John Hofmann who walked us through the entire process - John was extremely … More helpful, communicative, responsive and patient with us. We are very grateful! Thank you! -
Steven Juenger ★★★★★ 3 months ago
Each individual associated with the company provided excellent service and were very knowledgeable regarding the entire process.
These individuals, starting with Daniel Hunter, were detailed oriented, answered all my questions and made … More the experience stress free from the initial quotation, through the insurance claim process to the installation of a new roof.
They were attentive, communicative and pleasant.
I would highly recommend AYSR. -
Bercille Manlangit ★★★★★ 3 months ago
Great experience with our siding installation at At Your Service from start to finish. Our salesperson Jeff was very helpful. He explained the different options and gave us honest opinion. Faith and Brent helped scheduling the project and … More Nathan supervised efficiently. Cesar and his team did a wonderful job in replacing our siding. We are very pleased with their work. Thank you! -
Kate McWaters ★★★★★ 3 months ago
From start to finish, AYS staff was great! They helped us through the months of back and forth with our insurance agency--be prepared to have patience with that process. The AYS crew, especially Chuck, were professional, hard-working, and … More so efficient. They cleaned up our property thoroughly and replaced all patio furniture. They want feedback--good or bad--to keep improving their service. We enjoyed working with them and our roof looks fantastic!

