How to Install Roof Shingles- A Step-by-Step Guide
Installing roof shingles can be a daunting task, but it doesn’t have to be! With the right tools and materials, you can easily complete this job yourself. In this article, we’ll provide a step-by-step guide on how to install roof shingles so that you can give your home an attractive new look without breaking the bank or compromising safety. We’ll cover everything from choosing the right materials and tools to laying down and sealing the shingles as well as providing some helpful maintenance tips for keeping your roof looking its best. So let’s get started!
- Step 1: Get the Right Materials and Tools. Before you start any roofing job, it is essential to make sure that you have all the necessary materials and tools for the job. This includes shingle nails, felt paper, tar paper, a utility knife, hammer or nail gun, chalk line (for creating straight lines), flashing material (if needed), protection for your eyes, gloves and other protective clothing, ladder and scaffolding if needed.
- Step 2: Make Sure the Roof is Ready. Before installing the shingles, check to make sure that your roof is in good shape by looking for any damaged rafters or sheathing. If there are any weak spots on your roof decking or support beams then these need to be fixed before any new shingles are installed.
- Step 3: Lay Down the Felt Paper. You’ll need to lay a base of felt paper onto your roof before installing the shingles. This will help protect your roof from moisture and weather damage, so make sure that you roll it out evenly and overlap each section by at least 2 inches. Secure the felt paper with nails or staples along the edges and around any vents, chimneys, etc.
- Step 4: Install Starter Shingles. Start by laying down starter shingles along each edge of your roof – these should be overlapped in order to provide extra protection from wind and rain. Make sure that all nails are driven into secure spots on the roof – check for rafters or sheathing before nailing anything in.
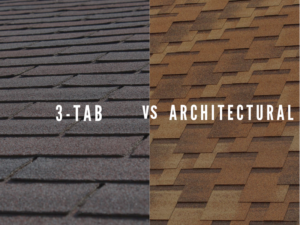
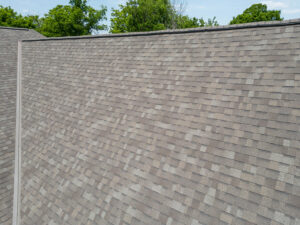
- Step 5: Lay the Shingles. Once your starter shingles have been installed, you can begin laying down the main rows of shingles. Make sure that each row overlaps the one below it by at least 3 inches and that all nails are driven into secure spots on the roof decking or support beams. Additionally, make sure that the sides of each row are aligned with those of the previous row for a neat and uniform finish.
- Step 6: Seal Your Shingles. After all of your shingles have been laid out, you’ll need to seal them in order to provide extra protection from weather damage as well as help them last longer. Use a sealant to fill in any gaps between the shingles and ensure that they are securely bonded together – this will also help keep them from developing mold or mildew over time.
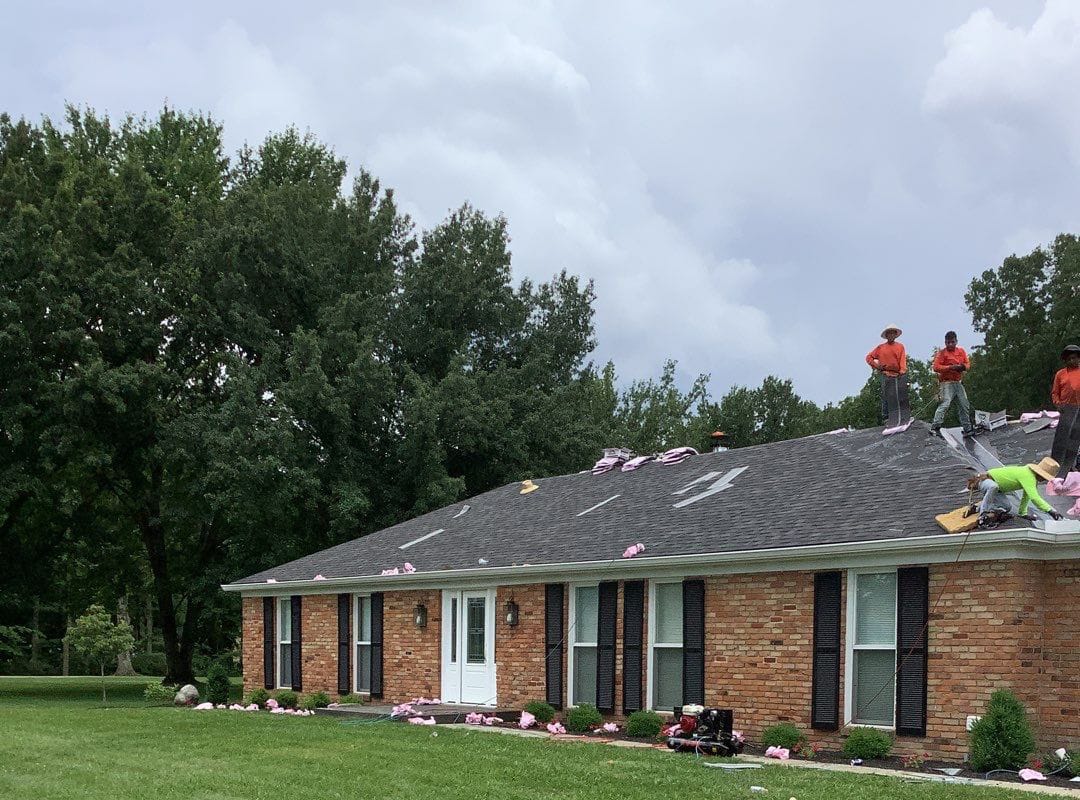
- Step 7: Follow Safety Protocols. Make sure that you take all necessary safety precautions when working on your roof, such as wearing protective clothing and using a ladder/scaffolding to reach hard-to-access areas. Also, have someone spot you while climbing up and down the ladder in case you slip or lose your balance.
Finally, keep an eye on your roof periodically to check for any signs of wear and tear. If you notice any damaged shingles or other components, replace them as soon as possible to prevent any further damage.
https://www.google.com/maps?cid=2091952965182332475